PART IV: Evaluating Buffer Effectiveness
This is part of our Virtual Buffers Lab series: Understanding, Making, and Using Buffers
This lab includes the complete titration procedure used to investigate how well a buffer resists changes in pH.
Learning Objectives
|
Students will be able to… |
|
|---|
Key Vocabulary
- Buffer
- Buffer capacity
- Titration
- Titrant
- Analyte
- pH
- Conjugate acid-base pair
- Neutralized
- Equivalence point
- Half equivalence point
Documents
TEACHERS: Request an Answer KEY for this lab activity (Part IV), as well as the other lab activities in this "Understanding, Making, and Using Buffers" virtual lab.
Part IV: Evaluating Buffer Effectiveness
Evaluating Buffer Effectiveness
Buffer capacity is a measure of the amount of acid or base that can be added to a buffer solution without significantly changing the pH of the solution.
The effectiveness of a buffer can be determined experimentally using a titration procedure which measures the pH of a solution as acid or base is added in small increments. (To review or practice the titration procedure, go to PART II: Practicing Titrations.)
In this lab, the effectiveness of a particular buffer solution will be determined. A graph is a good way to help evaluate the effectiveness of a buffer solution. Plotting pH values vs. either volume or moles of titrant (solution being added from burette) should result in a titration curve. Along the titration curve, there are two points that are of particular interest: the equivalance point and the half equivalence point.
The equivalence point is found at the steepest point on the titration curve and indicates the point where the titrant has completely neutralized the analyte (solution being analyzed). The half equivalence point is found by locating the point along the titration curve which is equivalent to half the volume of titrant corresponding with the equivalence point. The half equivalence point occurs when the weak acid (or base) has been exactly half-neutralized by the titrant. During a titration, the half equivalence point indicates when the analyte contains equal concentrations of both the weak acid and its conjugate base (or both the weak base and its conjugate acid). The half equivalence point is the midpoint of the buffer region on the titration curve. This is where the buffer solution is most effective, meaning the pH changes very little with the addition of small amounts of acid or base.
When analyzing buffer solution effectiveness, the half equivalence point is useful because it represents the point of maximum buffering capacity where pH changes are minimized due to equal concentrations of the weak acid and its conjugate base, or the weak base and its conjugate acid, as indicated by pH = pKa. In contrast, at the equivalence point, the buffer has been completely neutralized, and the solution is highly susceptible to large pH changes, losing its buffering ability.
MISSION
Choose one of the following scenarios from the Buffer Challenge (See Part III: Determining Buffer Components for a Desired pH). Create a buffer solution to meet the requirements of the selected scenario. Test the effectiveness of this buffer using the following procedure.
Scenario 1: Prepare a buffer for an antibiological agent which is designed for use in the human body. This buffer should have a pH of 7.2 ± 0.5 with the ability to stay within one pH unit of this target when strong acid or base is added.
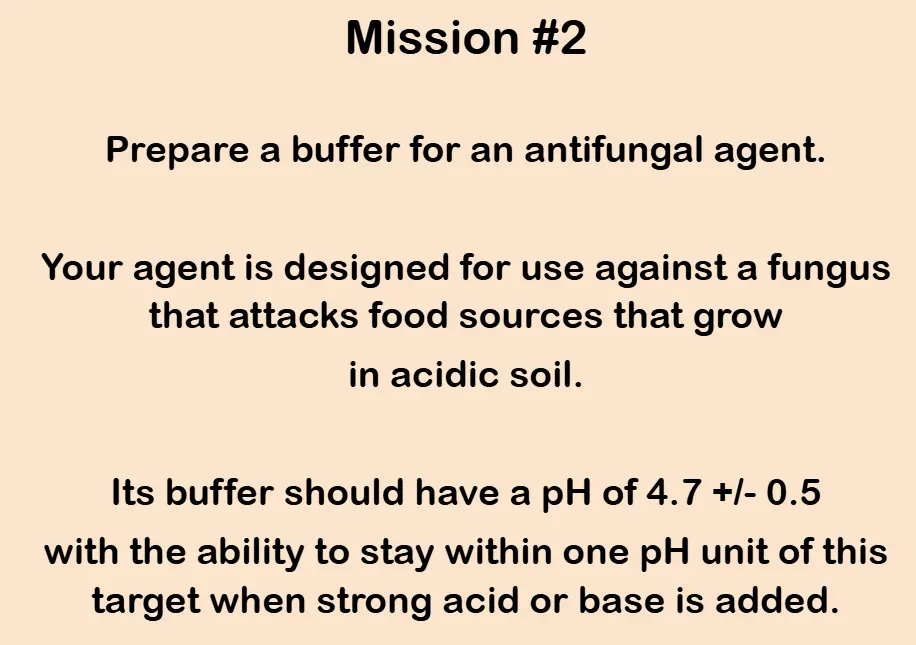
Scenario 2: Prepare a buffer for an antifungal agent which is designed for use against a fungus that attacks food sources that grow in acidic soil. This buffer should have a pH of 4.7 ± 0.5 with the ability to stay within one pH unit of this target when strong acid or base is added.
Scenario 3: Prepare a buffer for an antifungal agent which is designed for use against a fungus that attacks food sources in basic soil. This buffer should have a pH of 9.2 ± 0.5 with the ability to stay within one pH unit of this target when strong acid or base is added.
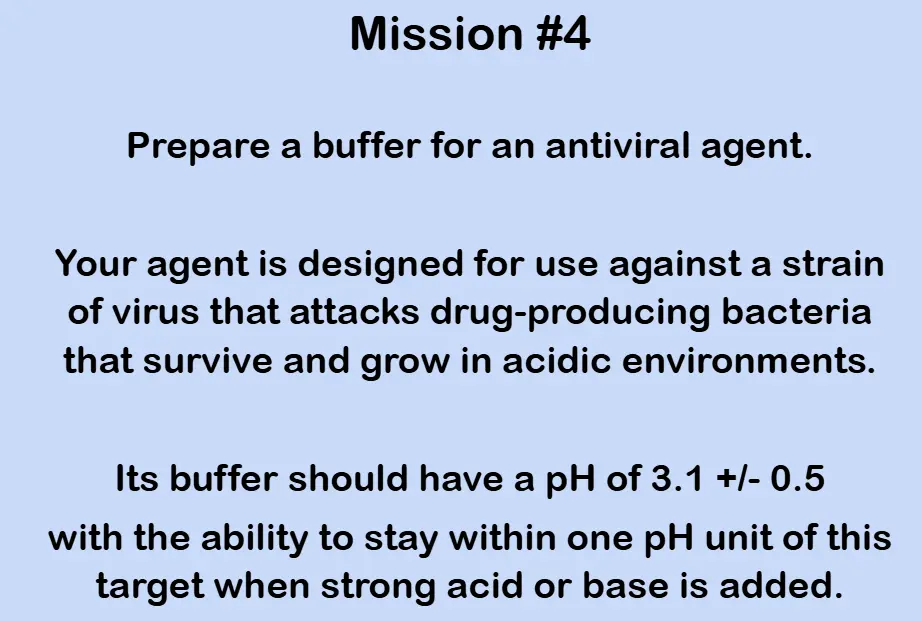
Scenario 4: Prepare a buffer for an antiviral agent which is designed for use against a strain of virus that attacks drug-producing bacteria that survive and grow in acidic environments. This buffer should have a pH of 3.1 ± 0.5 with the ability to stay within one pH unit of this target when strong acid or base is added.
✔CHECKPOINT: Check your buffer recipe with your teacher before completing the procedure below.
VIRTUAL PROCEDURE
| Scenario |
Adding 0.20 M HCl |
Adding 0.20 M NaOH |
|---|---|---|
| Scenario 1: Antibiological Agent |
|
|
| Scenario 2: Antifungal Agent for acidic soil |
|
|
|
Scenario 3: Antifungal Agent for basic soil |
|
|
|
Scenario 4: Antiviral Agent |
|
|
WET LAB PROCEDURE
- Use a 250-mL beaker to prepare your selected buffer solution using the amounts of solution and salt determined appropriate for your target pH.
- Label a 100-mL beaker “ACID” and measure 50-mL of your buffer solution into this beaker.
- Label a second 100-mL beaker “BASE” and measure 50-mL of your buffer solution into that beaker. Set the BASE beaker aside to use later.
- After transferring the two 50-mL portions of your buffer, transfer any remaining buffer into a clean Dixie cup. Label the cup and set it aside.
- Begin your capacity testing by using the buret, stir bar, and stir plate described in Part II: Practicing Titrations
- Pour the measured 50-mL buffer solution for “ACID” back into the 250-mL beaker that you used to prepare the buffer. Add a small stir bar to this beaker and set the beaker on top of the stir plate. Turn the stir plate on low.
- Connect a pH Sensor to a Go! Link and connect this to a USB port on the laptop provided.
- Open the Logger Pro program on the laptop. When the program opens, you should see pH readings being taken in real time at the bottom left of the computer screen. Keep the pH sensor capped on its storage bottle until you are ready to use it. Go to File, Open, Advanced Chemistry w Vernier, and then choose 19 Buffers.
- Carefully remove the pH meter from the storage solution (leave the screw-top lid attached to the pH meter). Set the storage bottle with solution aside. Rinse the pH meter with distilled water using either a wash bottle filled with distilled water or a plastic pipet and Dixie cup filled with distilled water. Blot the pH meter dry with a Kim wipe. Then carefully lower the pH meter’s electrode in the 250-mL beaker containing the measured 50-mL of buffer solution.
- Use CAUTION with the pH sensor when the stir bar is in use. Make sure the sensor is not struck by the stir bar.
- With the stir bar stirring the buffer, take an initial pH reading of the buffer solution. Click [Collect] and monitor pH for 5-10 seconds. Once the displayed pH reading has stabilized, click [Keep]. In the edit box, type 0 (for 0-mL added). Click [OK] to continue. Manually record the initial reading in the Data Table (attached).
- To complete the titration, 0.20 M hydrochloric acid (HCl) will be added to the buffer solution in varying increments using the buret setup from Part II. Be sure the buret is completely filled with 50.00-mL of 0.20 M hydrochloric acid (HCl).
- Slowly and carefully add about 5.00-mL of 0.20 M HCl to the buffer solution. When the pH stabilizes, click [Keep]. Enter the precise volume of HCl added to the buffer, then record this amount on the Data Table. Click [OK] to continue.
- Add another 5.00-mL of HCl to the buffer solution. When the pH stabilizes, click [Keep]. Enter the precise volume of HCl added to the buffer, then record this amount on the Data Table. Click [OK] to continue.
- At this point, about 10.00-mL of 0.20 M hydrochloric acid (HCl) has been added. Continue adding the incremental amounts of acid to the buffer solution as indicated below.
| INCREMENTAL VOLUME (mL) | TOTAL AMOUNT ADDED (mL) |
|---|---|
| 5.00 | 5.00 |
| 5.00 | 10.00 |
| 2.00 | 12.00 |
| 2.00 | 14.00 |
| 2.00 | 16.00 |
| 1.00 | 17.00 |
| 1.00 | 18.00 |
| ...continue adding 1.00 mL increments until a total of 30.00 mL is added | ... 30.00 |
| 2.00 | 32.00 |
| ...continue adding 2.00 mL increments until a total of 40.00 mL is added | ... 40.00 |
| 5.00 | 45.00 |
| 5.00 | 50.00 |
(The purpose of varying the amount of acid (or base) added is to create a smooth curve by adding smaller amounts when the pH changes noticeably.)
- When 50.00-mL of acid has been added to the buffer solution, click [Stop].
- Double check that your volumes and pH readings on your Data Table match those recorded in Logger Pro.
- Rinse the pH probe well with distilled water. Blot the pH probe dry with a Kim wipe and return to the storage bottle.
- Flush the resulting mixture (buffer and HCl) down the sink with copious amounts of water. Rinse both the 250-mL beaker and stir bar well and dry both with paper towel. Rinse three portions of approximately 10.00-mL of distilled water through the empty buret that contained the 0.20 M HCl. You are finished using this buret.
- Pour the measured 50-mL buffer solution for “BASE” into the clean and dry 250-mL beaker. Add the clean and dry stir bar to this beaker and set the beaker on top of the stir plate. Turn the stir plate on low.
- Again, carefully remove the pH meter from the storage solution (leave the screw-top lid attached to the pH meter). Set the storage bottle with solution aside. Rinse the pH meter with distilled water using either a wash bottle filled with distilled water or a plastic pipet and Dixie cup filled with distilled water. Blot the pH meter dry with a Kim wipe. Then carefully lower the pH meter’s electrode in the 250-mL beaker containing the measured 50-mL of buffer solution.
- Repeat the titration procedure described in Steps 10-18 using 0.20 M sodium hydroxide (NaOH).
- When finished, flush the resulting mixture (buffer and NaOH) down the sink with copious amounts of water. Rinse the beaker and stir bar well. Rinse three portions of approximately 10.00-mL of distilled water through the empty buret that contained the 0.20 M NaOH. Rinse the pH probe and replace in the storage bottle with pH storage solution.
ANALYSIS
- Graph the pH vs. Total amount added titrant (in moles) for both HCl and NaOH.
- Calculate the ratio of (moles of added acid neutralized) to (moles of base component in the buffer). Do the same calculation for (moles of added base neutralized) to (moles of acid component in the buffer). Use the equivalence points of both titration graphs to determine the total moles of acid and base that were neutralized.
- Identify the conjugate base used in the buffer solution. Show calculations used to determine the number of moles of conjugate base found in the prepared 50-mL buffer solution. Then calculate the ratio of neutralized HCl to base.
- Identify the conjugate acid used in the buffer solution. Show calculations used to determine the number of moles of conjugate acid found in the prepared 50-mL buffer solution. Then calculate the ratio of neutralized NaOH to acid.
- Report the volumes of HCl and NaOH from each titration, along with the corresponding pH values, at the half equivalence points. (The half equivalence point is located at the point where the titrant volume is half of what it is at the equivalence point.)
- At the half equivalence points for each titration, is the resulting pH reading within 1.0 unit of its respective initial pH reading?
- Explain the difference between what happened to the buffer solution at the equivalence point of each titration versus what happened to the buffer solution at the half equivalence point of each titration.
- What was the pH when 20-mL of 0.2 M HCl was added to the buffer solution? Was this pH reading within 1.0 unit of the initial pH value?
- What was the pH when 20-mL of 0.2 M NaOH was added to the buffer solution? Was this pH reading within 1.0 unit of the initial pH value?
- Was the prepared buffer more effective for buffering added acid or added base? How do you know?
 |
 |
 |
 |
This lab was created with support from the Ren Research group at Purdue University with funding from the National Science Foundation grant NSF CHE 2102049.