Part II: Practicing Titrations
This is part of our Virtual Buffers Lab series: Understanding, Making, and Using Buffers
This lab includes a demonstration of the proper use of a burette system for titrations; including a detailed description, instructional video, and opportunity for students to collect data to investigate the effect on pH when a strong acid and strong base are added to a buffer solution. Students will become familiar with the equipment and procedures used during general titrations.
Learning Objectives
|
Students will be able to… |
|
|---|
Key Vocabulary
- Burette (Buret)
- Titration
- Neutralization reaction
Documents
- Click here for PDF of Student Procedure for Practicing Titrations
- Click here for PDF of Student Data Sheet
- Watch this video to follow along with the "Practicing Titrations" instructions below.
TEACHERS: Request an Answer KEY for this lab activity (Part II), as well as the other three lab activities in this "Understanding, Making, and Using Buffers" virtual lab.
Part II: Practicing Titrations
Background1
A buffer is a solution designed to resist the changes in pH that occur when small amounts of acid or base are added. Buffers must be able to neutralize both acids and bases. Therefore, a buffer solution must contain both a base and an acid.
How do we prevent the acid and base in a buffer solution from neutralizing one another?
To prevent neutralization within a buffer solution, it is necessary to use an acid and base that form a conjugate acid-base pair. A conjugate acid-base pair is a set of two species that differ from one another by one easily removable hydrogen ion (a proton). If the members of a conjugate acid-base pair neutralize one another, they will simply re-form the same species.
Both members of the conjugate acid-base pair in a buffer solution need to be weak (weak acid and weak base). The weak acid component neutralizes added base and the weak basic component neutralizes added acid. Strong acids and bases are poor choices for buffer solutions. This is because the conjugate acid of a strong base and conjugate base of a strong acid would both be very weak, and therefore could not effectively neutralize any added acid or base.
Student Instructions
- Click on the video link (under Documents) to access the "Practicing Titrations" video.
- Following along with the video, complete each part of the Data Sheet at the top of the student worksheet.
- Answer the three follow-up questions (bottom of the student worksheet) after completing the Data Sheet.
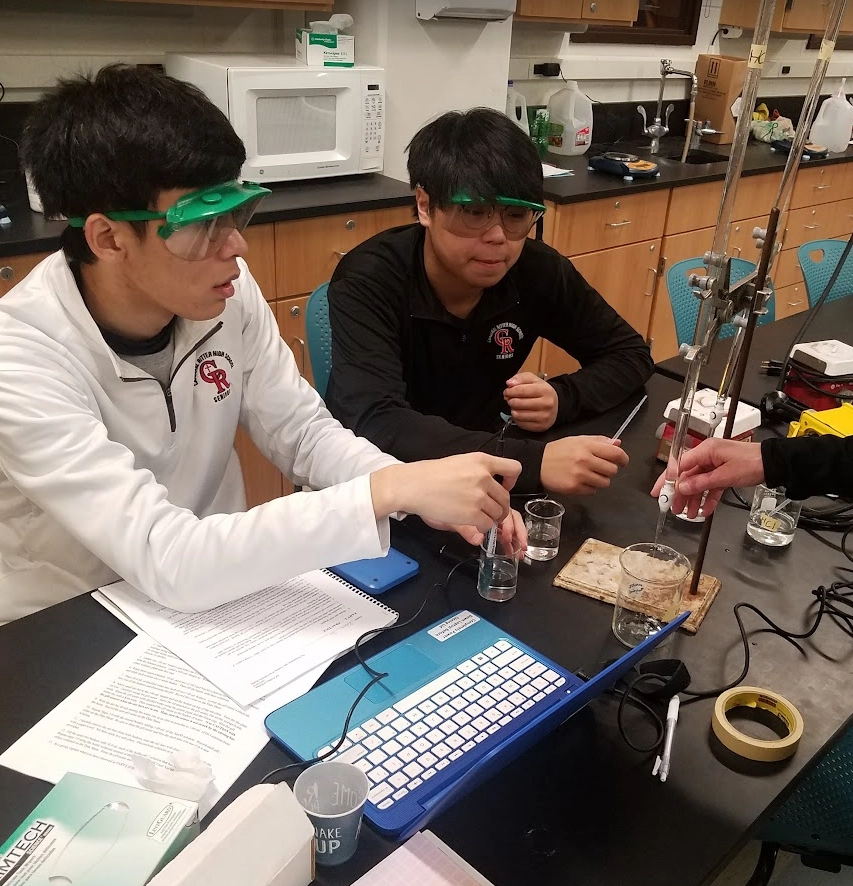
Setup for the Practicing Titrations video
The following preparations were made by the lab instructors before filming the guided video for this practice titration.
- Instructors obtained and wore safety goggles for the duration of this lab activity.
- A ring stand was assembled with a burette clamp. Two burettes were then attached (one on each side). Using a piece of masking tape, instructors labeled one burette 0.2 M HCl and the other burette 0.2 M NaOH.
- Next, instructors connected a Vernier pH Sensor to a Vernier Go! Link. The Go! Link was then connected to a USB port on a laptop that had a copy of the Vernier Logger Pro program.
- The Logger Pro program was next opened. Once opened, pH readings being taken in real time could be viewed at the bottom left of the computer screen. It was important to keep the pH sensor capped on its storage bottle until ready for use.
- In Logger Pro, Instructors accessed a specific Buffer lab: File >> Open >> Advanced Chemistry w Vernier >> 19 Buffers.
- Instructors gathered two 100-mL beakers and label one 0.2 M HCl and the other 0.2 M NaOH. Each beaker was then filled with the labeled solution. A 600-mL beaker was labeled “Waste”. A Dixie cup was filled with distilled water and a plastic pipet was placed near this cup.
- Instructors rinsed three (approximately 10 mL portions) of HCl and NaOH solutions through the specified burettes and drained each portion into the waste beaker. The burettes were then filled with their indicated solutions.
Guided Video Procedure
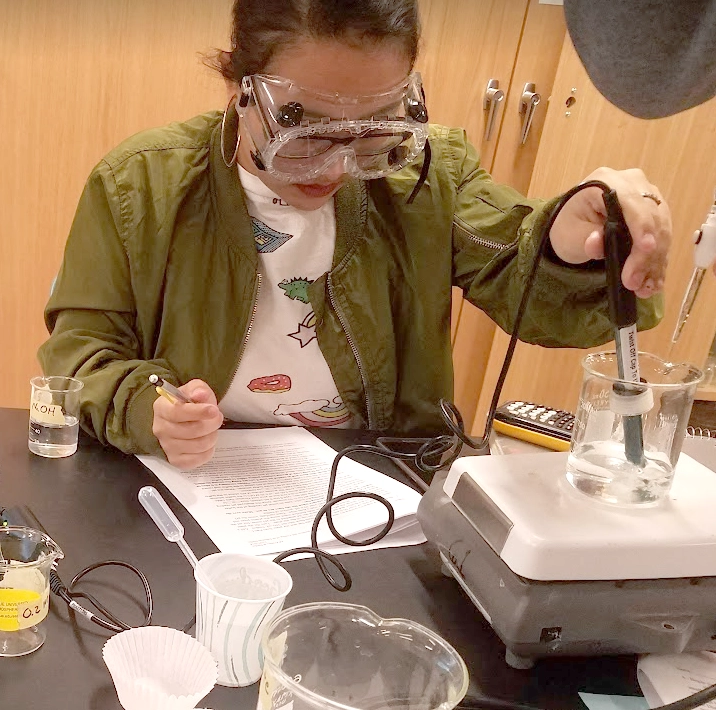
- Place 50.0 mL of distilled water into each of two 100-mL beakers. Carefully uncap the pH meter – leave the lid attached to the pH meter, but set the storage bottle aside. Rinse the pH meter with distilled water using the plastic pipet and the Dixie cup, or a wash bottle. Blot the pH meter dry with a Kim wipe. Lower the pH meter’s electrode into one of the beakers and determine the pH. Record this value on the Data Sheet.
- Add a small stir bar to the 100-mL beaker with the pH meter, and set the beaker on top of the stir plate. Turn the stir plate on low. Suspend the pH meter in the beaker of water. *Use CAUTION with the pH sensors when the stir bars are in use. Make sure the sensor is not struck by the stirring bar.
- With the stir bar slowly stirring the water, release exactly 1.00 mL of HCl solution (as close as possible) from the burette. Wait for the pH meter to stabilize, then record the new pH value on the Data Sheet.
- Repeat Steps 1-3 with the second beaker, adding 1.00 mL of the NaOH solution. Record each pH value on the Data Sheet. Be sure to rinse the pH meter and blot dry each time you use it in a new solution. If you only have one stir plate, be sure to rinse and dry the stir bar as well.
- Carefully remove the stir bars from both beakers, rinse the stir bars with distilled water and wipe dry with a paper towel. Set them aside in a safe place. Discard both solutions in the Waste containers provided.
- Fill two beakers with 50.0 mL each of a pH 7 buffer solution. Repeat steps 1-3 using the buffer solutions instead of the water for both HCl and NaOH. Record all collected pH values on the Data Sheet. Rinse the pH meter and return to its storage bottle.
1 - College Board. (2013). AP Chemistry Guided-Inquiry Experiments: Applying the Science Practices, Investigation 16 - The Preparation and Testing of an Effective Buffer: How Do Components Influence a Buffer's pH and Capacity? (p. 137). College Board.
 |
 |
 |
 |
This lab was created with support from the Ren Research group at Purdue University with funding from the National Science Foundation grant NSF CHE 2102049.